

Authentication
How to login GPU Marketplace system?
Step 1: Navigate to compute.aitech.io Step 2: Fill email address and password information
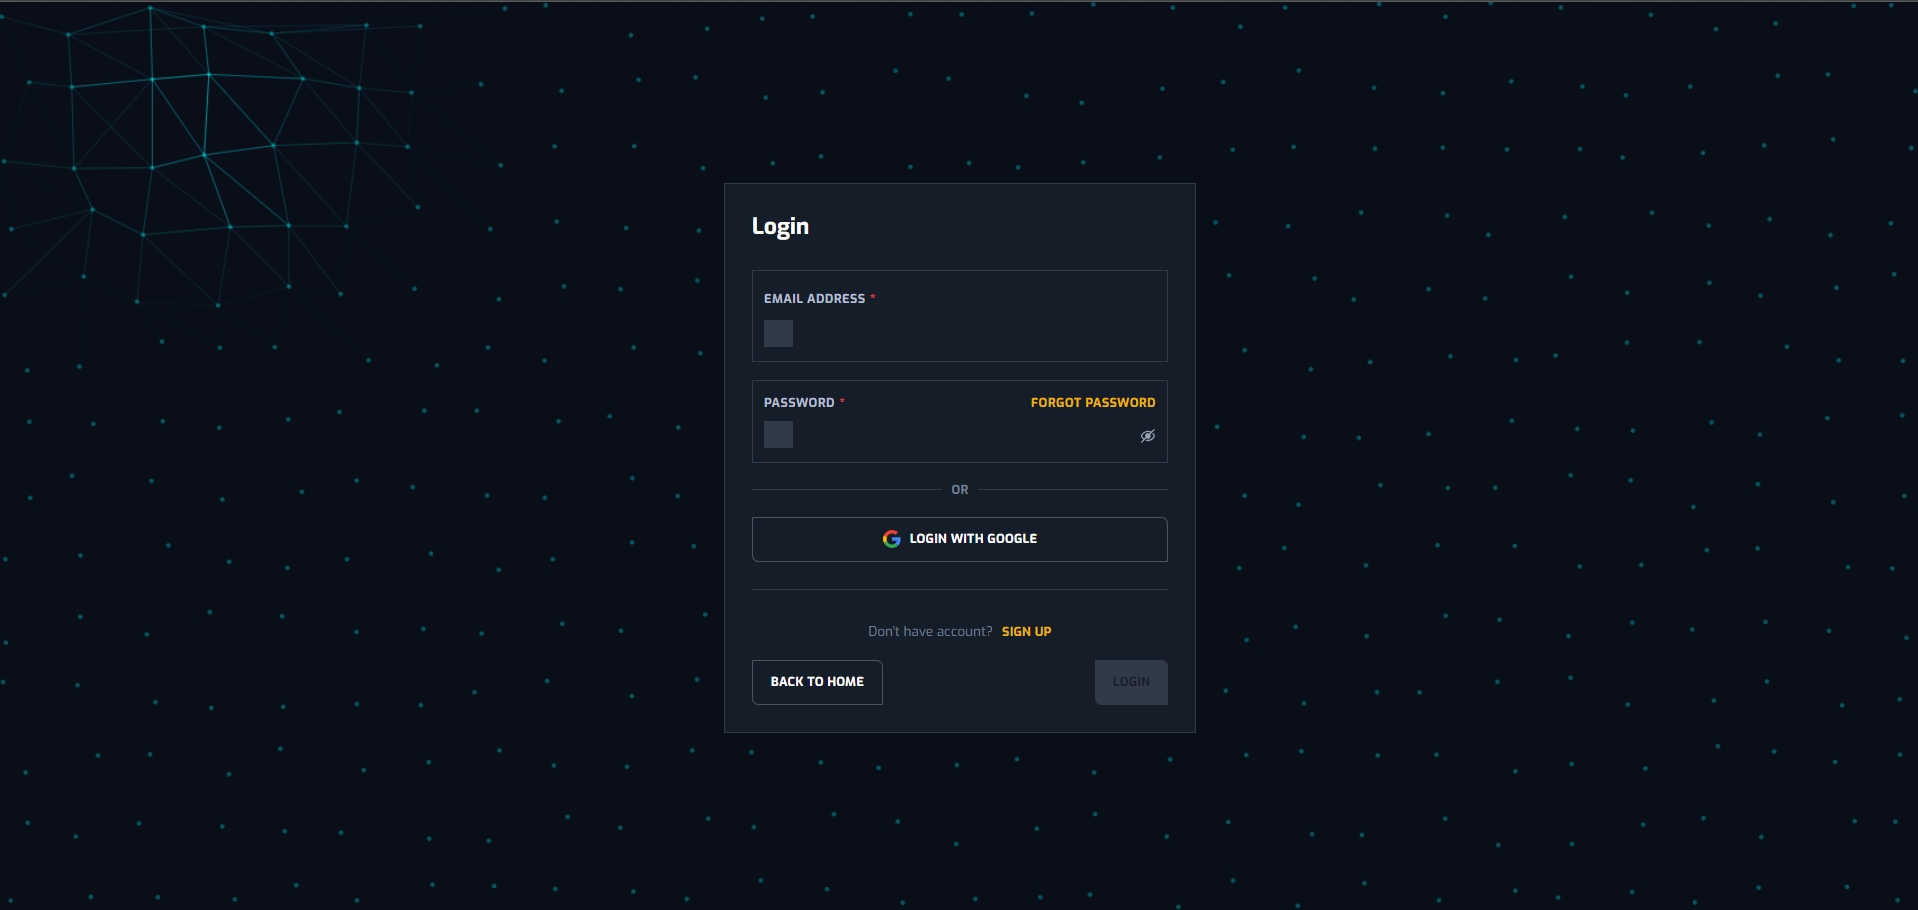
Step 3: User clicks login. If the information is correct, navigate the user to the platform. If information is incorrect, the system will yield errors based on the validate. Follow the error message for better instructions.
OR
Google Login
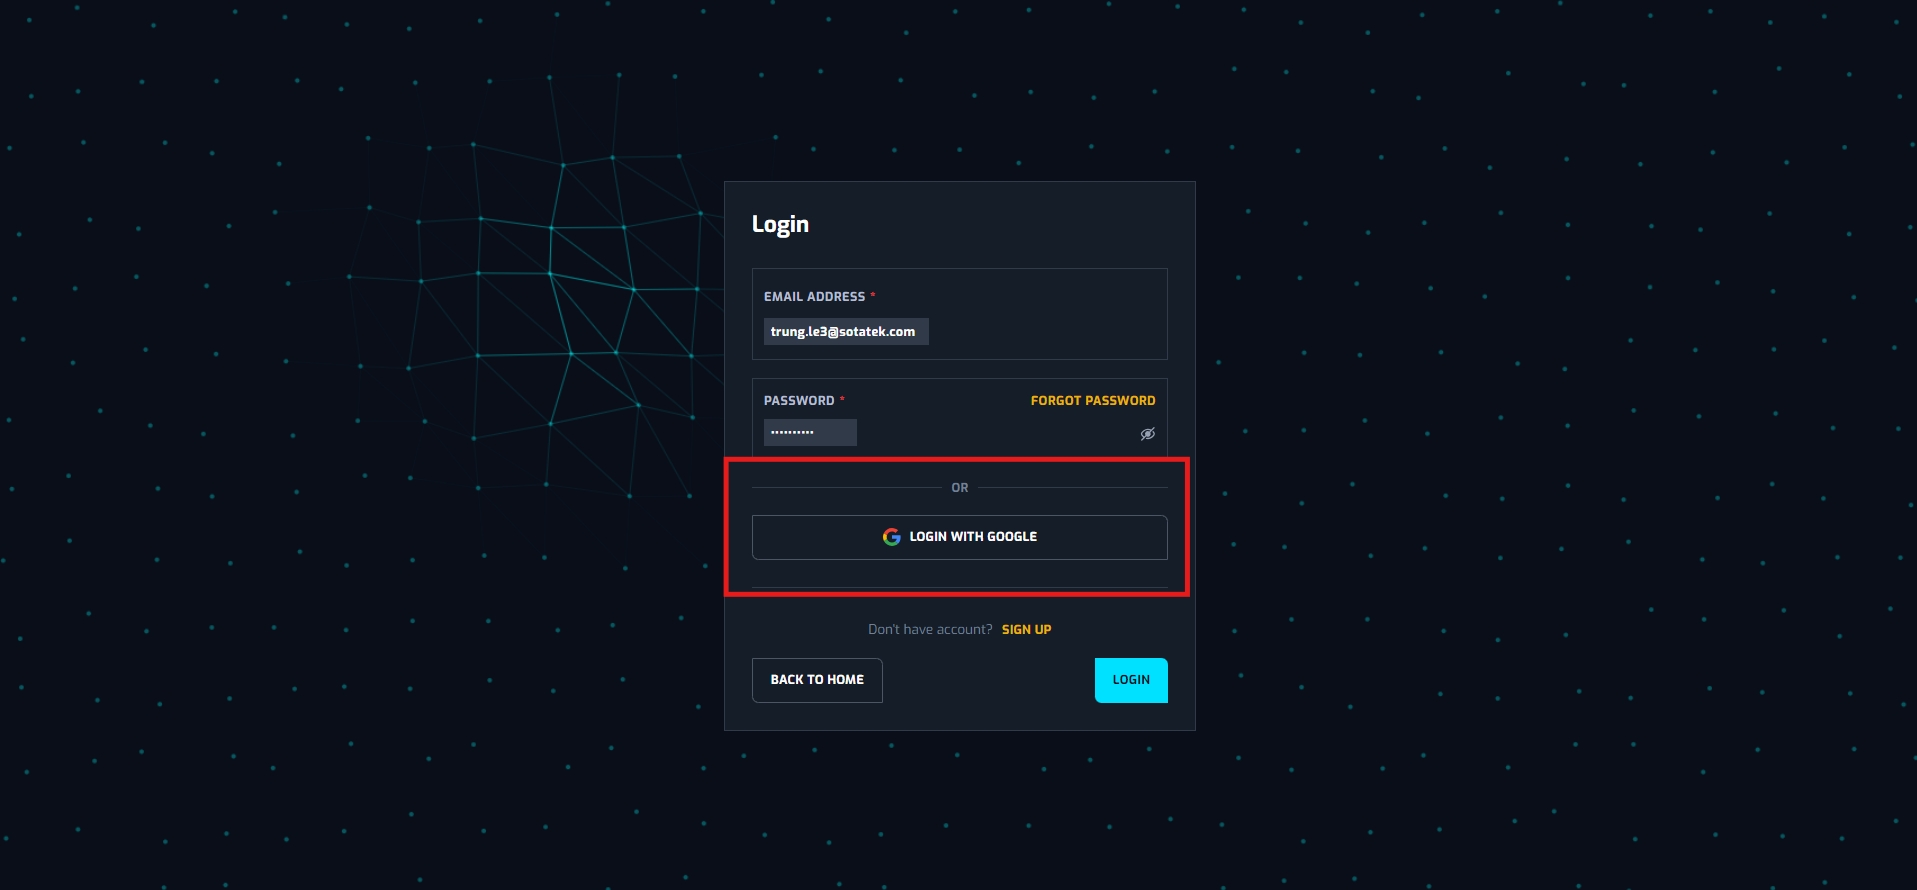
Step 2’: Users can connect to the system using google email address. If so, Clicks “Login with google”
Step 3’: If a user login via google, a pop up will appear, for the user to select which account they want to use, to log in to our system. User select the wanted account, and access to the system
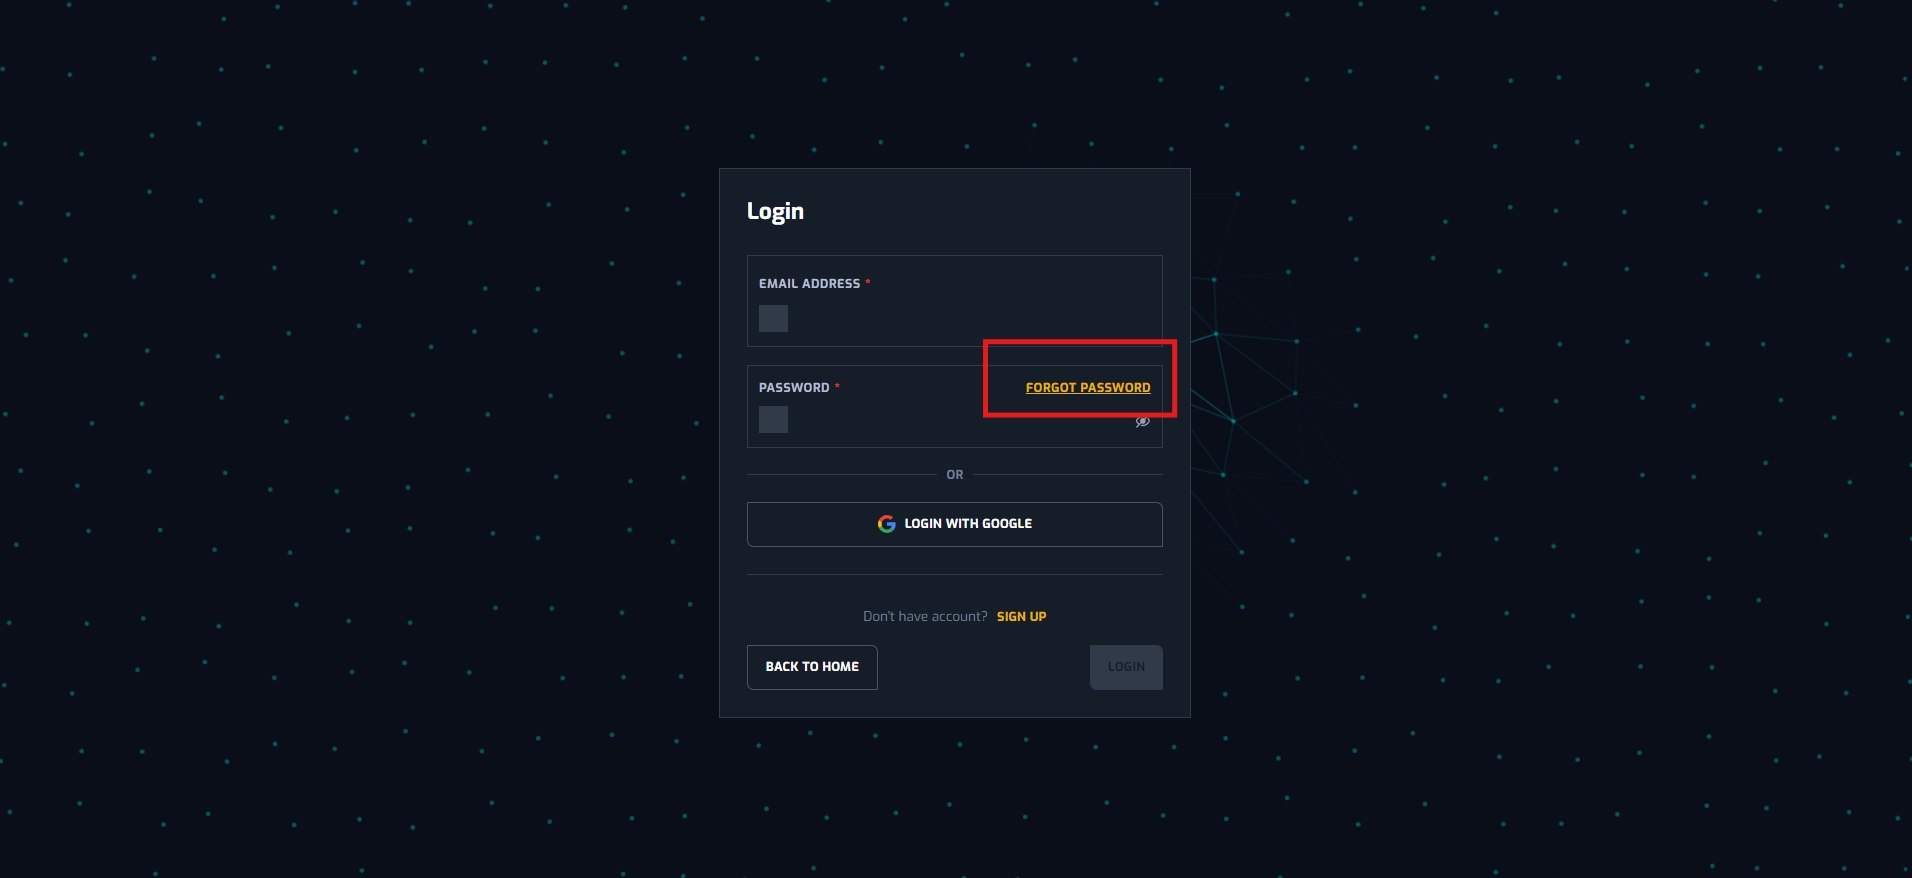
Step 4: If user forgot password, clicks “Forgot password”
Step 5: After clicked, the user will be navigated to the email reset screen. User fills email address they wish to reset password, and clicks “Send me a reset link”
Step 6: After sending an email successfully, a notification will show up. Users can check their email for the reset link, and change password via that URL.

How to Sign up to GPU Marketplace system?
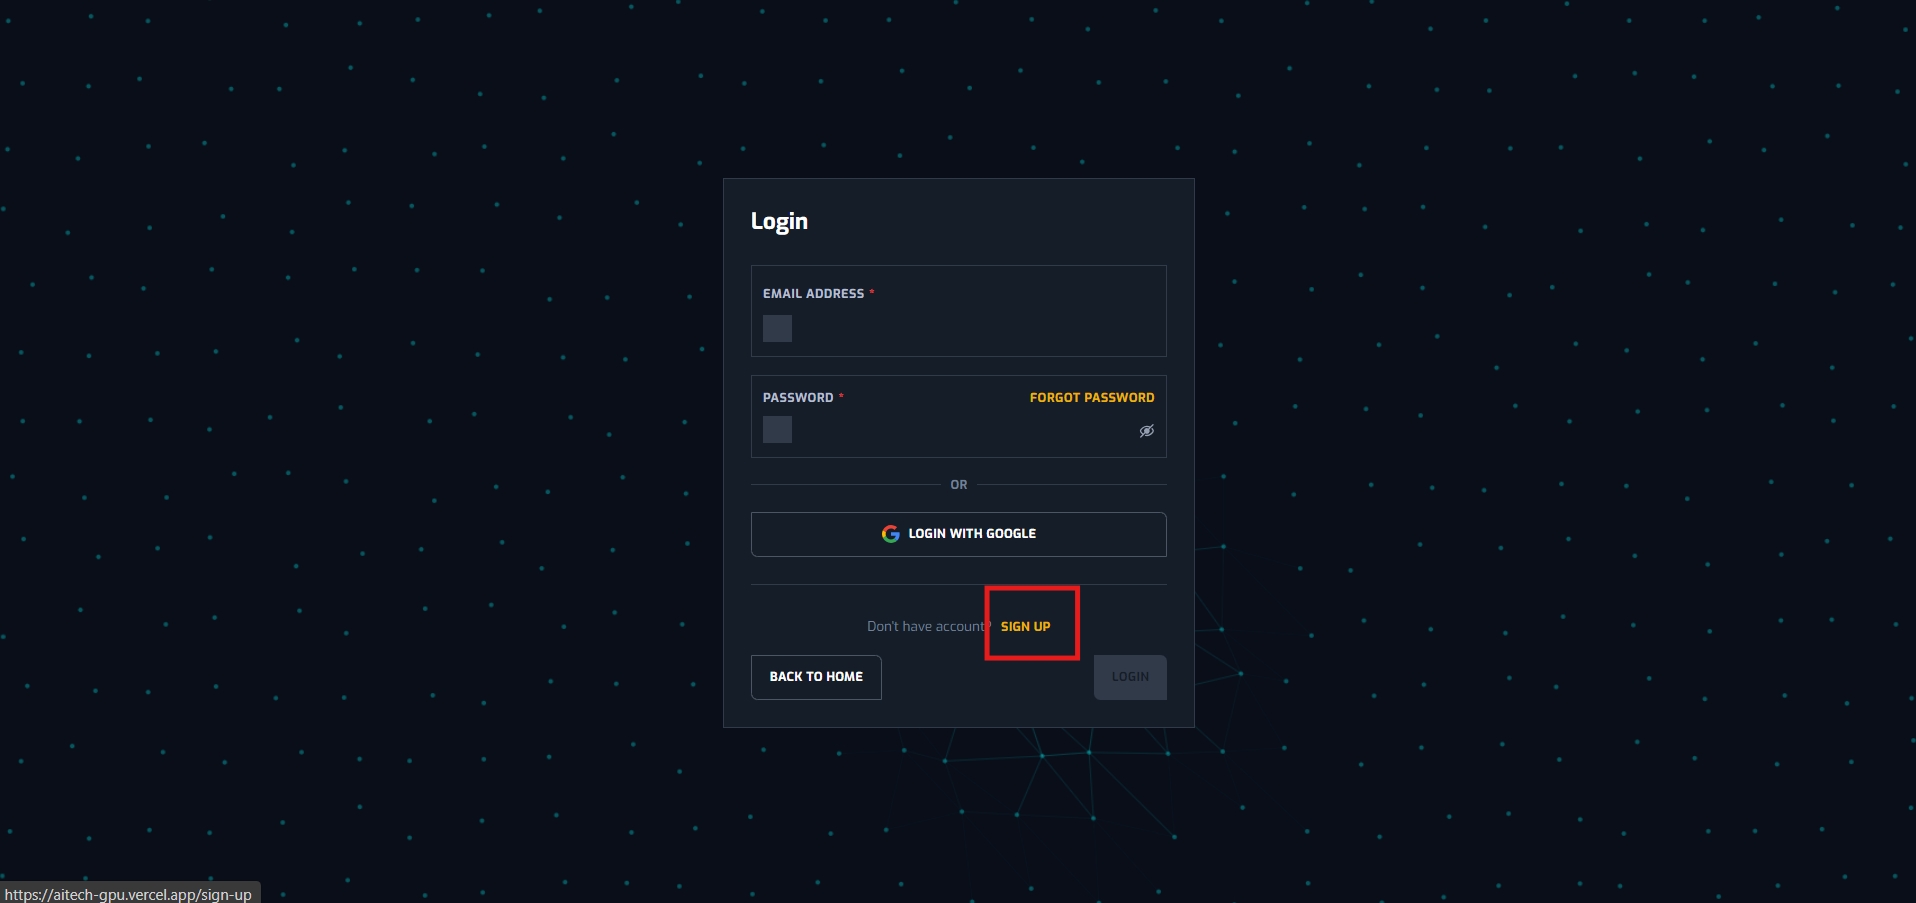
Step 1: Navigate to https://aitech-gpu.vercel.app/login
Step 2: Clicks “Sign up”
Step 3: 2 options will be shown. If a user sign up with google, refer to step 2’ in the Log in Section. If the user selects “Sign up with email”, navigate to the Sign up screen.
Step 4: User fill Email address and password information. If successful, If sign up successfully, navigate to confirmation screen, and Navigate user to the platform. If not, see the error message for further instructions.
Manage user information
Overview: After the user has logged in successfully to the system, the user can change their password and set up SSH key and API key. SSH key will be used by the renter to log in to their rented instances.
API key will be used by the owner to verify the machine on the engine.
Connect wallet
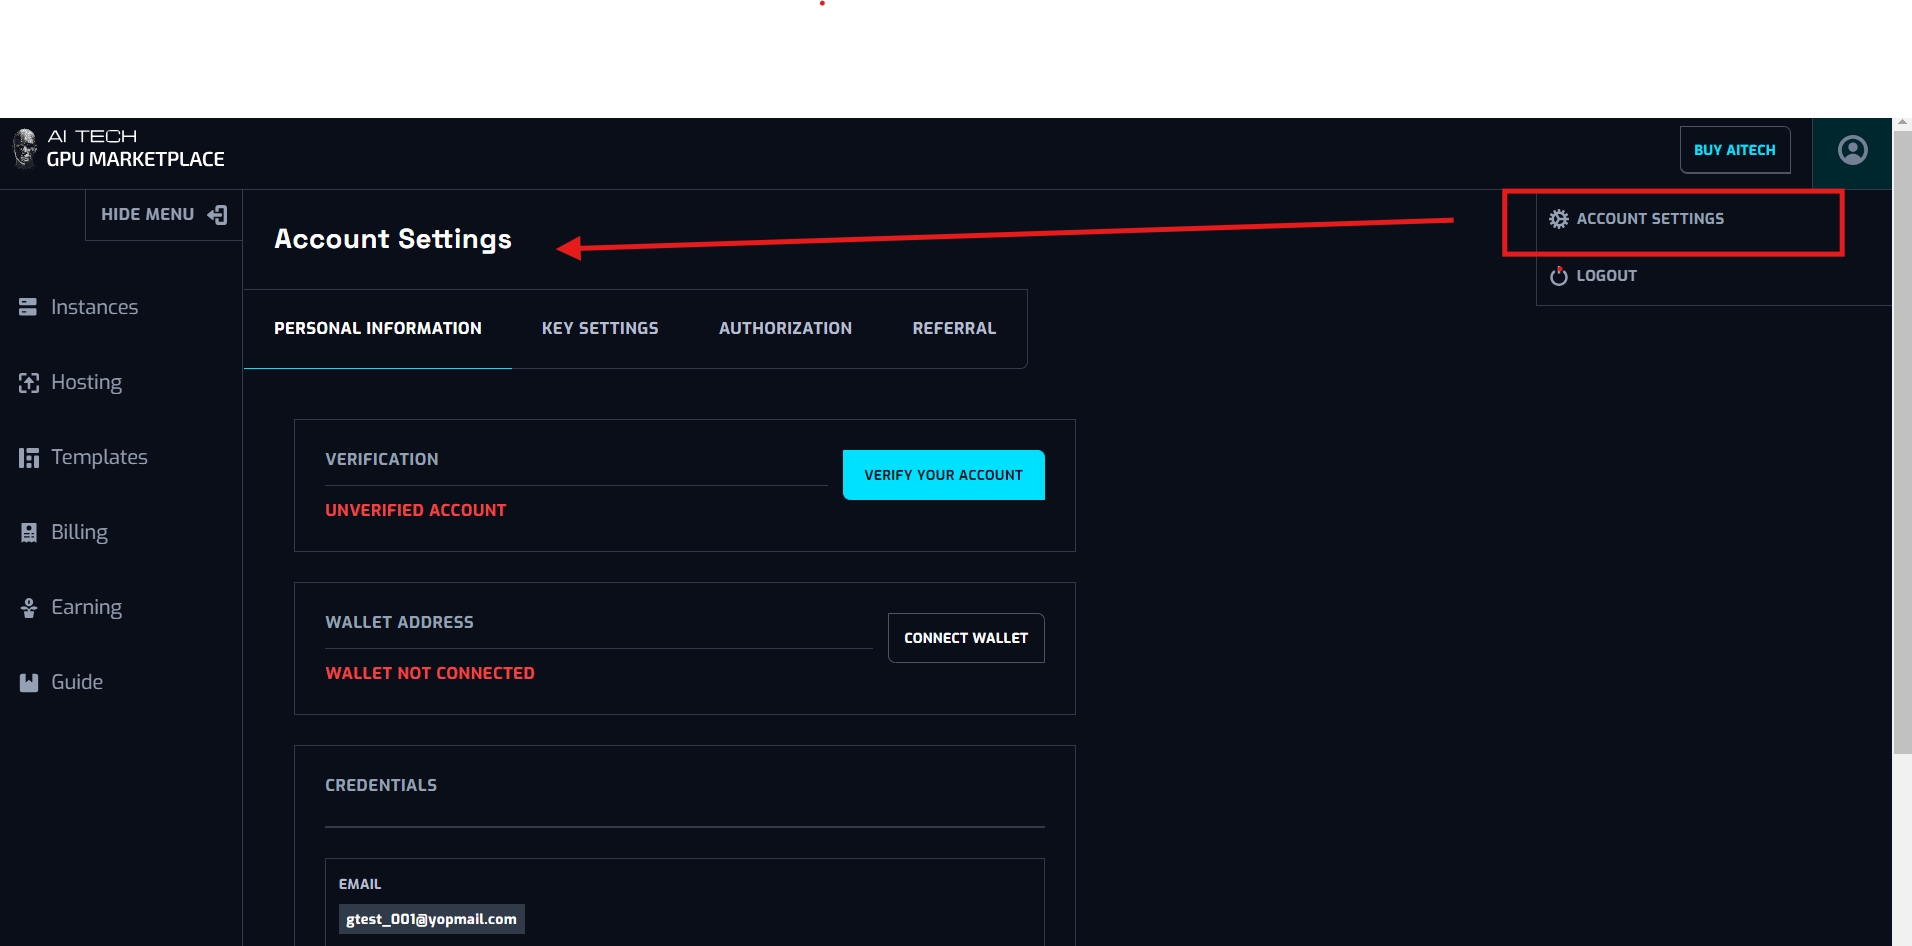
Step 1: Go to “Account settings” on the User icon
Step 2: Navigate to the “Personnal information” section - Wallet address. Click “Connect wallet”
Step 3: Click the wallet the user wishes to go with. In the wallet extension, user choose the account they want to connect to the site.
Step 4: Sign message to verify wallet.
Wallet address linked to User account successfully.
If the user wants to link the account to another wallet, clicks remove and redo from step 2.
Change password
Step 1: Go to “Account settings” on the User icon
Step 2: Navigate to “Personal information” section - Credential. Click “Change password”
Step 3: Fill new password information. Passwords must contain at least: 1 Upper case, 1 lower case, 1 number, Between 8 - 128 characters, 1 Special Character. Then, click submit. After the user submits, he/she will receive a toast message upon successfully changing the password. User will then log in to the system via a new password.
Set SSH key
Step 1: Navigate to “Account settings”
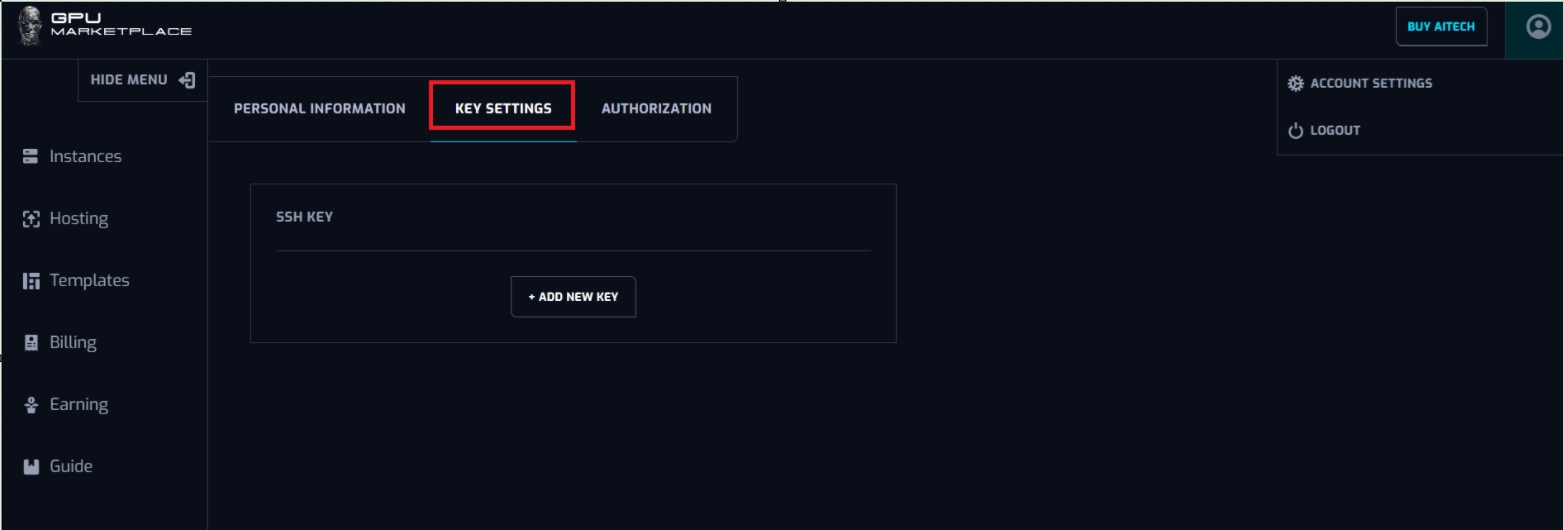
Step 2: Navigate to the “Key settings” section.
Step 3: Click “Add new key”. A pop up will appear, and users fill their SSH key.
Step 4: Click “Submit”. If saved successfully, a toast message will appear. Users can use this key for validation in the system.
Change SSH Keys
Step 1: Navigate to “Account settings”
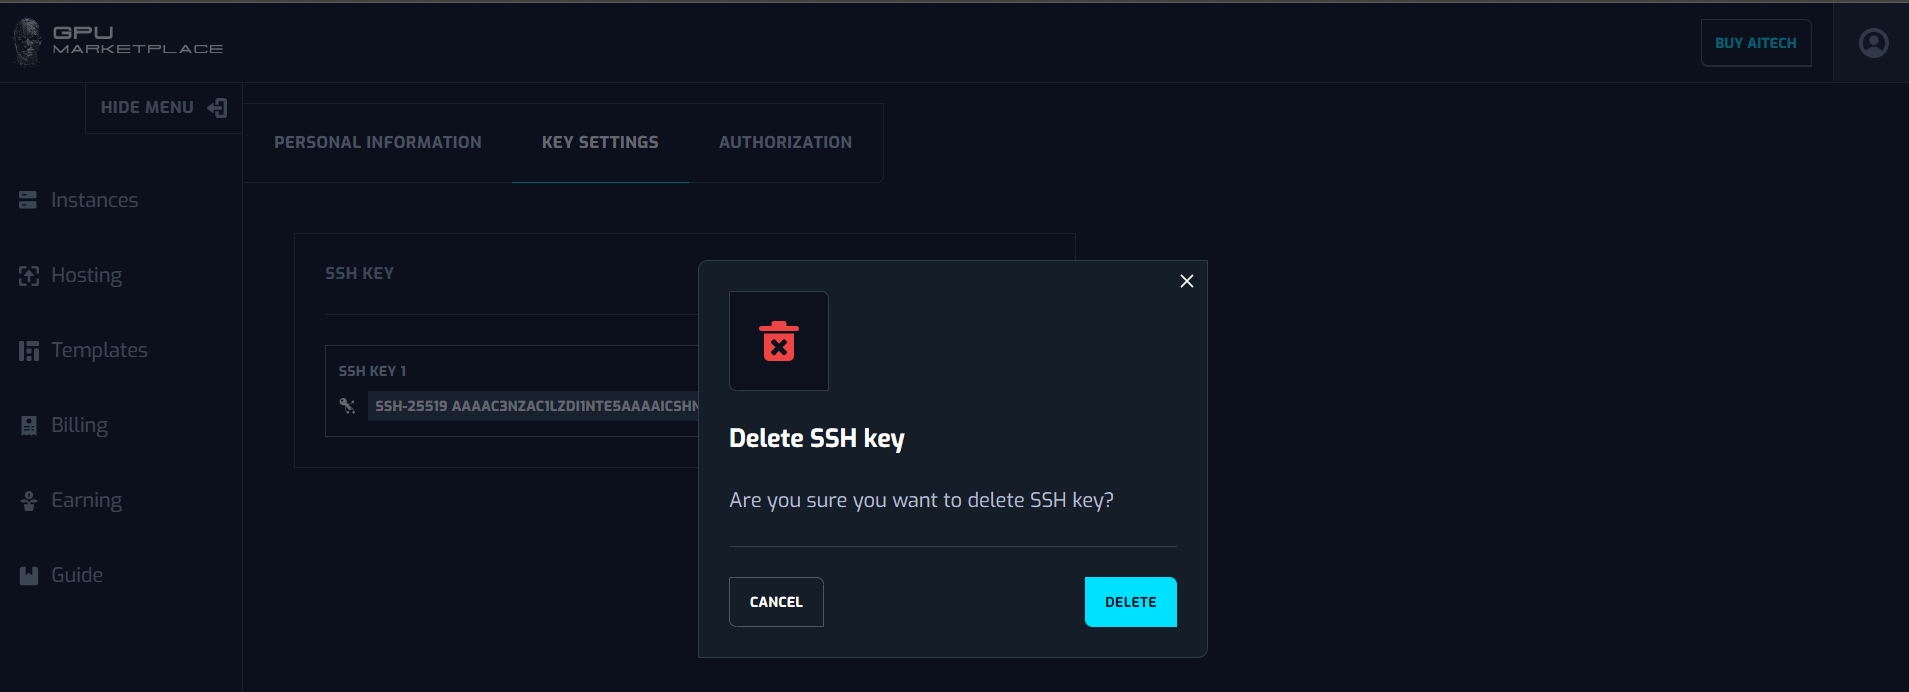
Step 2: Navigate to the “Key settings” section. If user already has set up the SSH key, it will display as below
Step 3: Click “Change key”. A pop up will appear and users change their SSH key. After submitting successfully, the system will yield a notification for key changes. Users will start using their New SSH key.
Step 4: If users want to delete the SSH key, click on Icon delete. System will yield a confirmation pop up. If user confirm, SSH key will be deleted
Manage API keys
Step 1: Navigate to “Account settings”
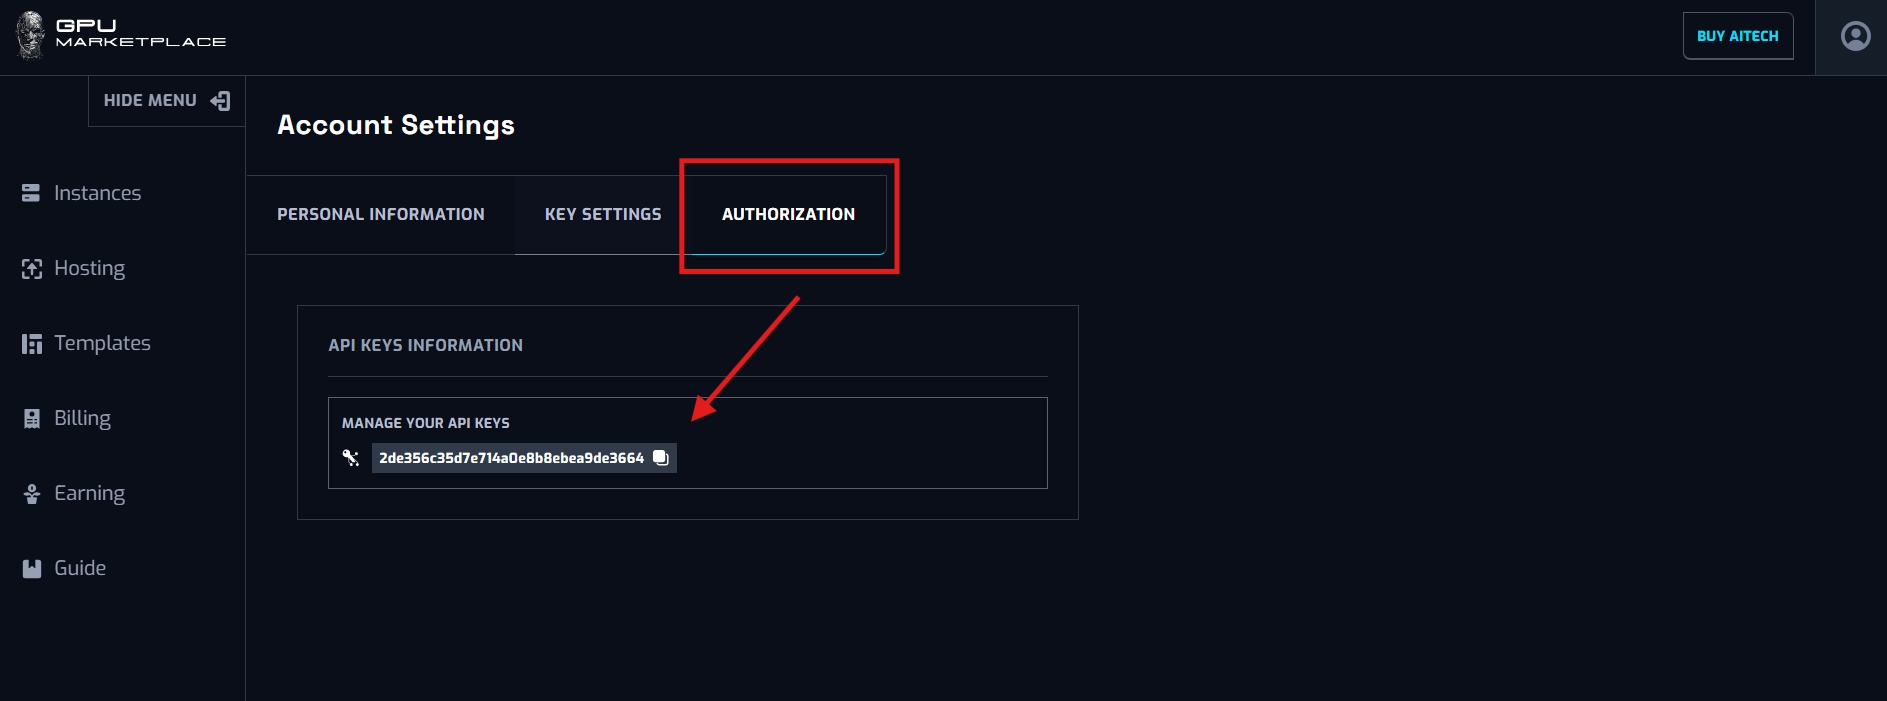
Step 2: Navigate to the “Authorization” section.
Step 3:Users can copy the API keys to be used for hosting. This API key will be auto generated when a user login successfully to the platform, and can not be altered by the user. The purpose of this key is to identify machine owners in the hosting section.
Verify account
Step 1: Navigate to the “Account settings”
Step 2: Navigate to “Personal information”
Step 3: Navigate to to “Verification”
Step 4: Clicks “Verify account:
If account has already been verified, instead of the button, system will display the status of verification (verified/unverified)
If account has not been verified, when clicked, display verify verification process
When user scan QR code, navigate to veriff site to start verifying process.
Referral
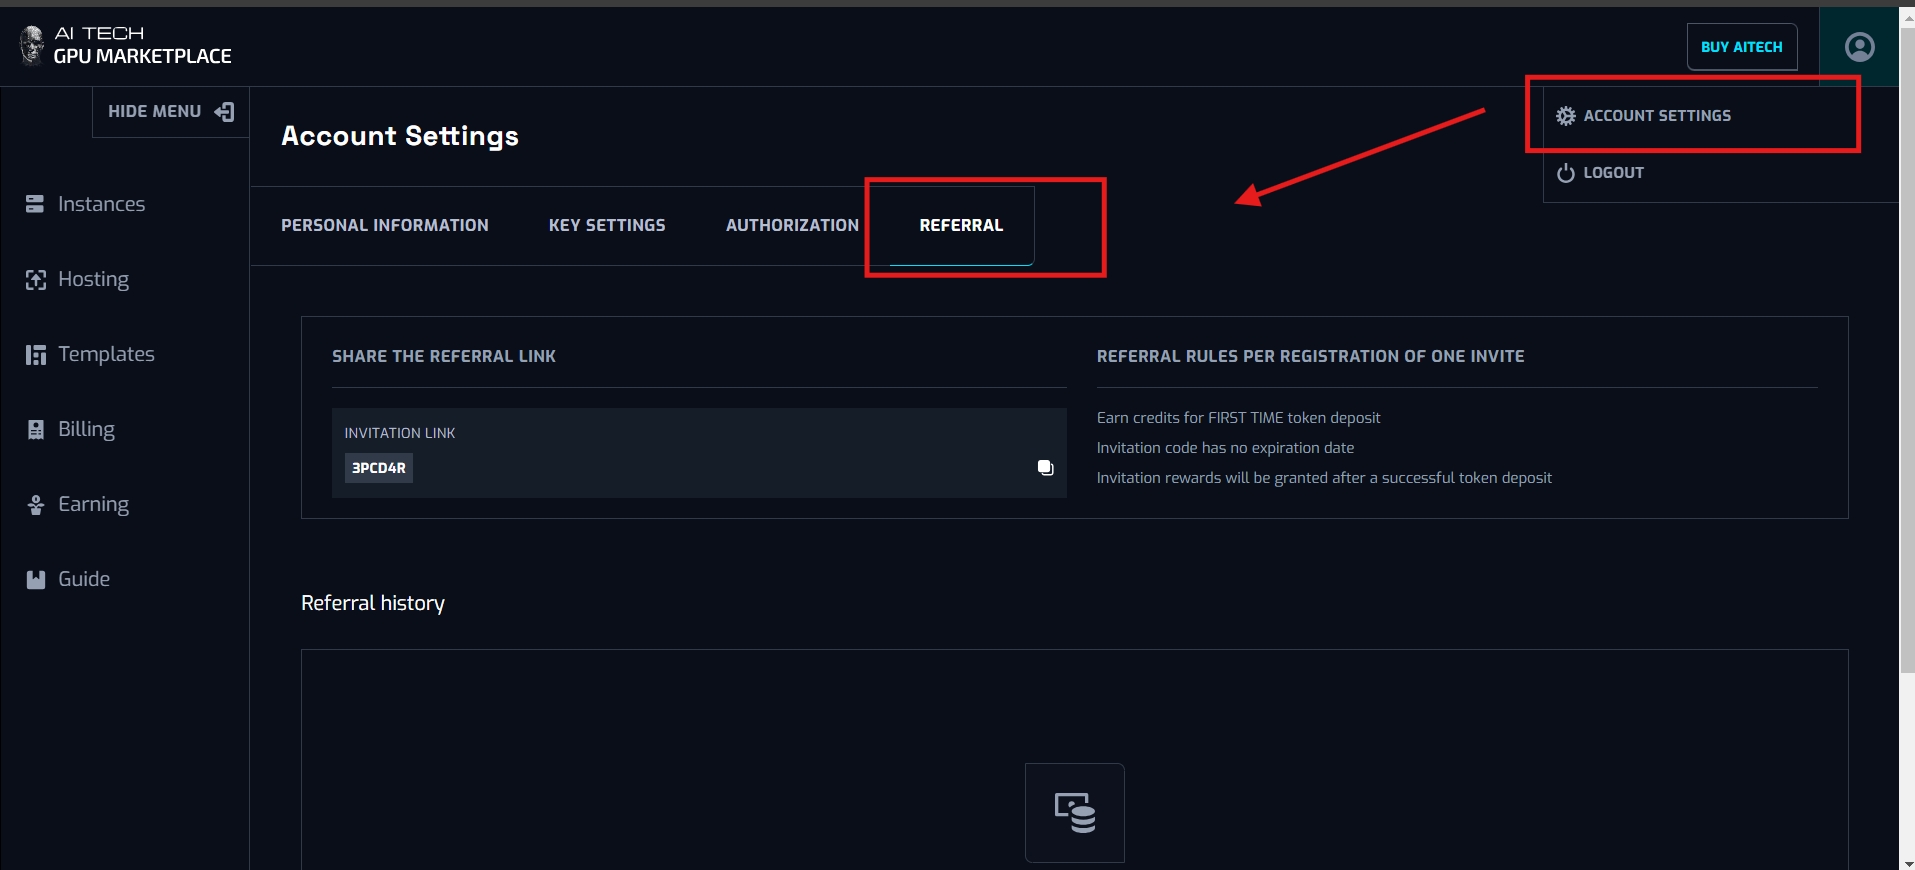
Step 1: Navigate to the “Account settings”
Step 2: Navigate to “Referral”
Under the referral section, users (called “the referral”) will see referral code (with a copy button) and a Note about referral function.
Users can send this referral code to other users to sign up. When this user (called “The referee) signs up using the referral code, the first time deposit from the referee, the referral will receive a portion of the total deposit.
This portion will be set up in the admin system settings section. Referral will not display in the earning section, due to it has a separate section called “Referral history”
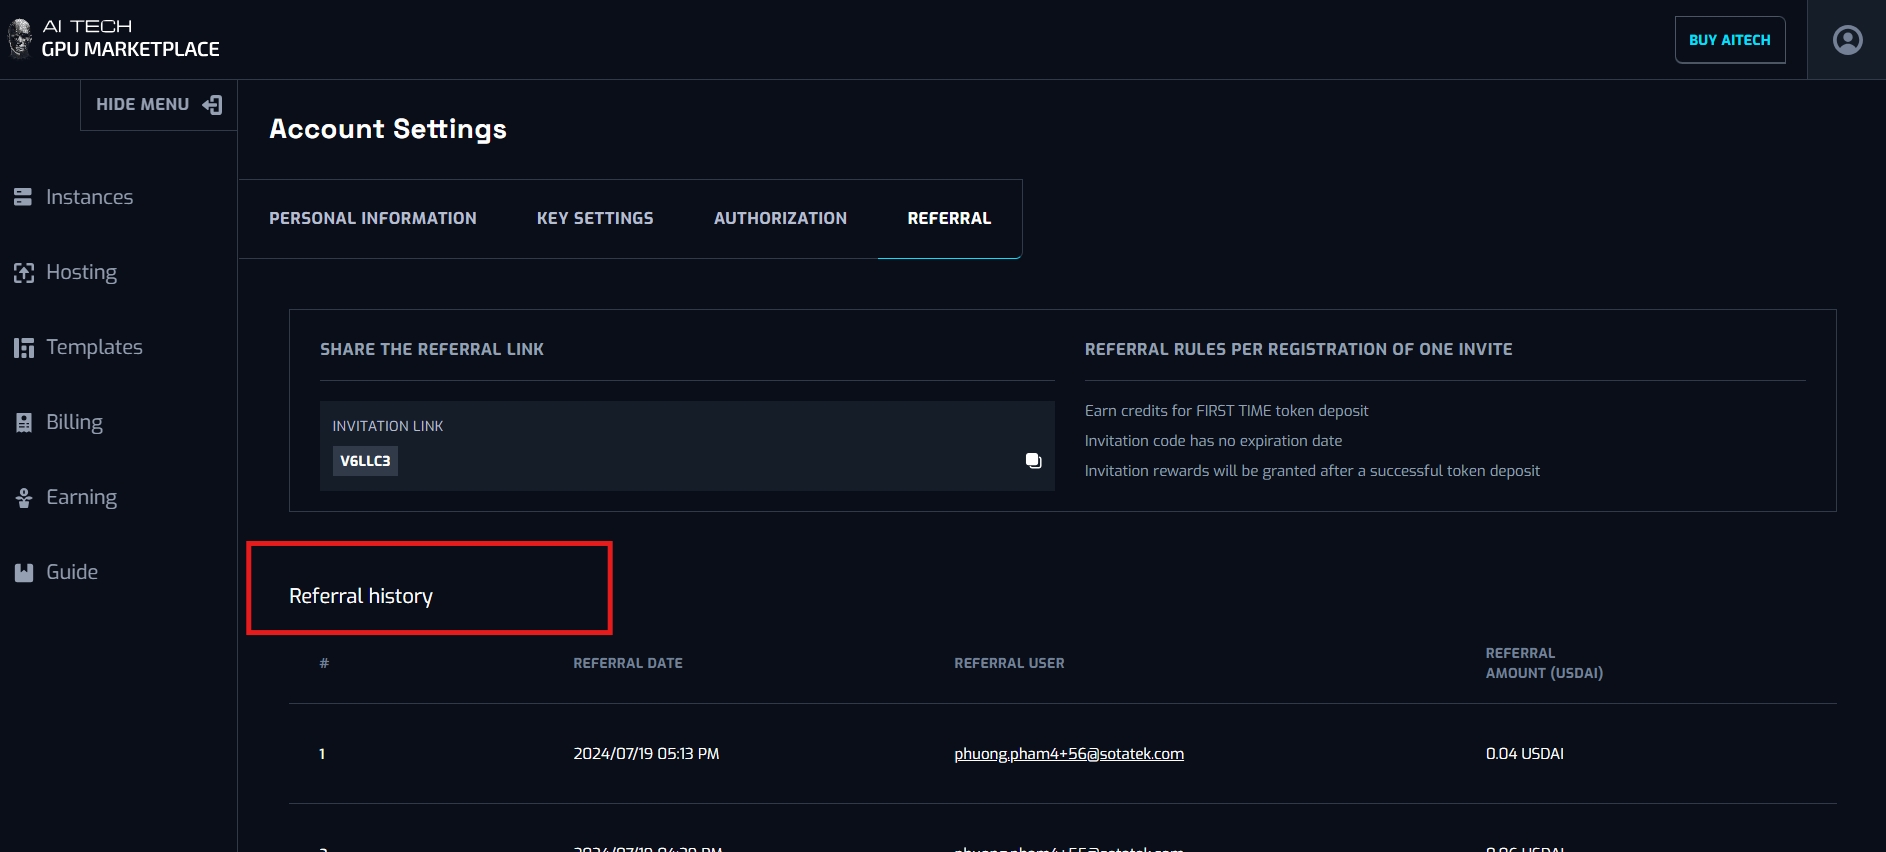
The section “referral history” in “account settings” displays the earnings from different user source
Referral history will display each time the referral receive a payment from this function
Referral date: Date of deposit from the referee
Referral user: email address of the user used for referee
Referral amount: display the amount earned for referral code owner
Error:

Step 2’: Users can connect to the system using google email address. If so, Clicks “Login with google”
Step 3’: If a user login via google, a pop up will appear, for the user to select which account they want to use, to log in to our system. User select the wanted account, and access to the system
Step 4: If user forgot password, clicks “Forgot password”
Step 5: After clicked, the user will be navigated to the email reset screen. User fills email address they wish to reset password, and clicks “Send me a reset link”
Step 2: Clicks “Sign up”
Step 4: User fill Email address and password information. If successful, If sign up successfully, navigate to confirmation screen, and Navigate user to the platform. If not, see the error message for further instructions.
Manage user information
Step 1: Go to “Account settings” on the User icon
Step 3: Click the wallet the user wishes to go with. In the wallet extension, user choose the account they want to connect to the site.
Step 4: Sign message to verify wallet.

Wallet address linked to User account successfully.
Step 2: Navigate to “Personal information” section - Credential. Click “Change password”
Set SSH key
Step 3: Click “Add new key”. A pop up will appear, and users fill their SSH key.
Step 3: Click “Change key”. A pop up will appear and users change their SSH key. After submitting successfully, the system will yield a notification for key changes. Users will start using their New SSH key.
Step 4: If users want to delete the SSH key, click on Icon delete. System will yield a confirmation pop up. If user confirm, SSH key will be deleted
Manage API keys
Step 2: Navigate to the “Authorization” section.
Verify account
Step 1: Navigate to the “Account settings”
Under the referral section, users (called “the referral”) will see referral code (with a copy button) and a Note about referral function.
Users can send this referral code to other users to sign up. When this user (called “The referee) signs up using the referral code, the first time deposit from the referee, the referral will receive a portion of the total deposit.
This portion will be set up in the admin system settings section. Referral will not display in the earning section, due to it has a separate section called “Referral history”
The section “referral history” in “account settings” displays the earnings from different user source
Referral history will display each time the referral receive a payment from this function
Referral date: Date of deposit from the referee
Referral user: email address of the user used for referee
Referral amount: display the amount earned for referral code owner